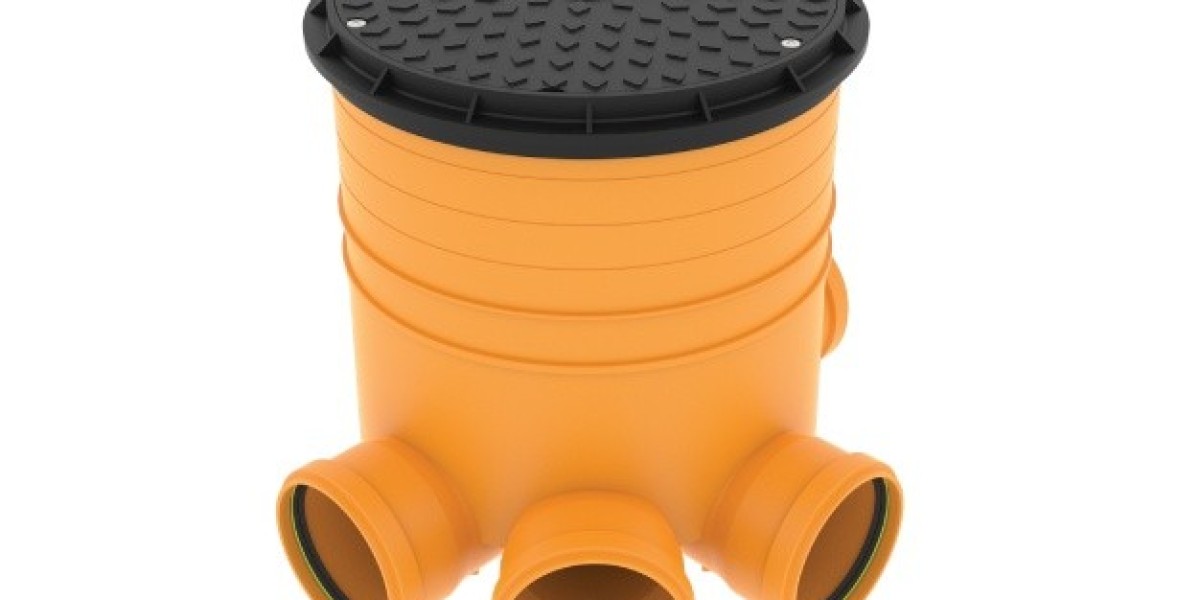
Installing a polyethene inspection chamber is an important process in ensuring the proper functioning of an underground sewer system. Here is a simple and easy guide to the installation procedure:
Trench excavation
Begin by excavating a trench where the polethylene inspection chamber will be placed. The trench should be at least 300mm wider on each side of the chamber base to accommodate the natural soil characteristics. This ensures enough space for the chamber and provides stability.
Trench bottom preparation
Level the bottom of the trench carefully. Prepare a bedding layer by spreading a minimum of 100mm of sand on the trench bottom. Ensure that the sand and the trench base are free from sharp edges, large stones, or coarse particles that could damage the chamber.
Cleaning and lubrication
Clean the chamber base socket and the riser pipe thoroughly. Apply lubricants to the chamber base socket's rubber ring to ensure an easy connection and a secure fit.
Positioning the chamber
Place the inspection chamber on the prepared sand bed. Connect the main trunk sewer line to the chamber inlet. If the sand bedding is insufficient, increase its height to ensure the chamber base inlet aligns correctly with the main sewer line.
Levelling the chamber
Use a spirit bubble level scale to ensure the top of the chamber base is ideally level. This step is crucial for the sewer system's proper functioning.
Backfilling the main sewer pipe
Cover the main sewer pipe with 200-300mm of backfill material or sand. This stabilises the pipe and supports the chamber.
Connecting laterals and trunk outlet
Connect the lateral pipes and trunk outlet to the chamber base sockets, with the chamber firmly set on the main sewer line. Ensure all unused inlets are securely plugged in to prevent age or contamination.
Adjusting the inspection chamber height
Cut the inspection chamber to the required height using a fine-toothed saw. Inspection chambers come with ribs spaced at 50mm for a 600mm diameter chamber and 32mm for a 315mm diameter chamber. Cut according to the inverted depth required for your site conditions.
Filling around the chamber
Fill the area around the chamber with granular material, such as the bedding material. This provides additional stability and support.
Backfilling the trench
Backfill the trench in successive, uniform layers of 200-300mm. Ensure the backfill material is free from stones more significant than 40mm, clay lumps larger than 90mm, timber, or any other material that could hinder proper compaction. Use proper compaction techniques to achieve a minimum Standard Proctor Density of 90%, especially in areas with regular or heavy traffic.
Final backfill and RCC/Fulcrum concrete ring installation
Keep the backfill level 60mm to 90mm below the top of the inspection chamber. Install an RCC or Fulcrum concrete ring, with a minimum height of 85mm, around the top of the chamber. This helps to transmit vehicle loads to the lower layers of the road, avoiding direct pressure on the chamber.
Conclusion
By following these steps, you can ensure the correct installation of a polyethylene inspection chamber, which contributes to the efficiency of your underground sewer system.


