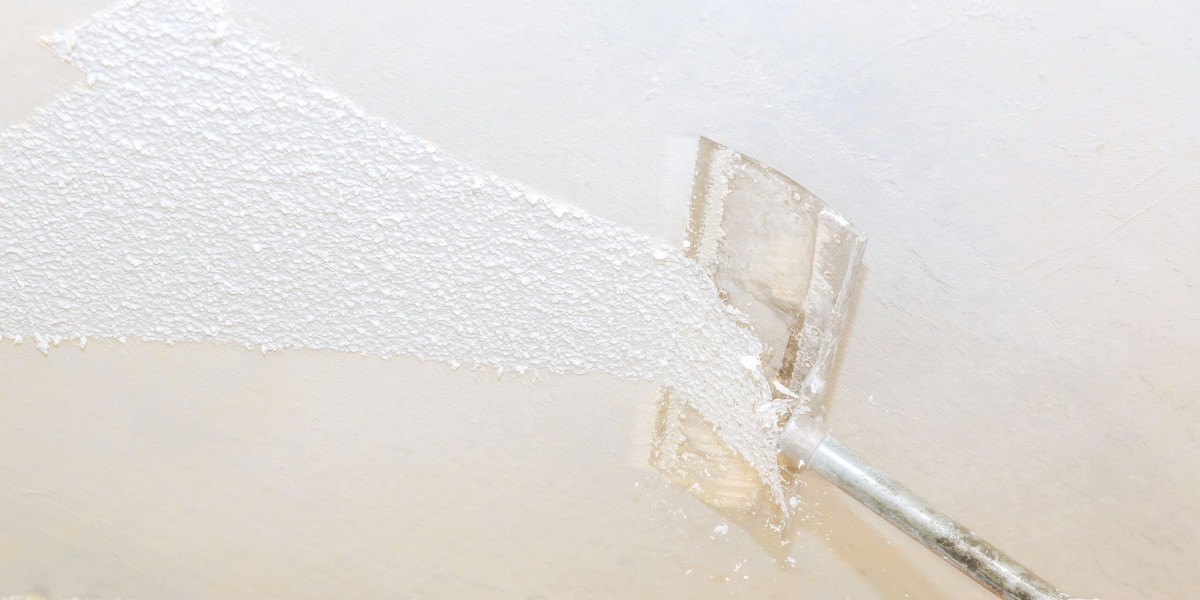
drywall finishing is the secret behind creating smooth, seamless walls that set the stage for any interior design. It’s a skill that can elevate the look of your space, whether you're preparing for painting, wallpapering, or other decorative treatments. If you're looking to master drywall finishing, this comprehensive guide covers all the techniques, tools, and tips you need to get the perfect result.
What Is Drywall Finishing?
Drywall finishing refers to the process of applying joint compound (mud) to cover the seams, screw holes, and joints in drywall, followed by sanding, priming, and painting. The goal is to create a smooth, uniform surface that looks professional and ready for final treatments. It’s essential for both aesthetic and functional purposes, as it ensures a solid base for paint and prevents cracks or gaps from appearing in the future.
Steps to Achieving a Perfect Drywall Finish
The process of drywall finishing involves several steps, each requiring attention to detail and patience. Here’s a step-by-step breakdown of what you need to do:
1. Taping the Joints
Taping is the first crucial step in drywall finishing. It prevents the seams from cracking and ensures that the joint compound stays in place. Two types of tape can be used: paper tape and fiberglass mesh tape.
- Paper Tape: This tape needs to be applied over a thin layer of joint compound and is recommended for creating stronger seams.
- Fiberglass Mesh Tape: This self-adhesive tape is easier to use but may need more compound to achieve a smooth finish.
Use a drywall knife to embed the tape into the compound and ensure it adheres smoothly to the surface. Avoid bubbles and wrinkles for a seamless application.
2. Applying the First Coat of Joint Compound
Once the tape is in place, the first coat of joint compound is applied. This bonding coat should be a little thicker than subsequent layers and is used to fill in gaps and cover the seams. Apply the compound using a 6-inch drywall knife, spreading it evenly over the seams and screw holes.
Let the first coat dry completely, which could take up to 24 hours depending on temperature and humidity levels.
3. Second Coat of Joint Compound
The second coat of joint compound smooths out the first layer. It’s applied with a wider drywall knife, typically 10-12 inches, and should be feathered out towards the surrounding drywall. The goal is to fill any imperfections and smooth the surface without overloading it with compound.
Allow this coat to dry completely before moving on to sanding.
4. Third (Finishing) Coat of Joint Compound
The finishing coat is the final thin layer of joint compound that smooths out any remaining imperfections. This coat should be applied as lightly as possible, using a 12-inch drywall knife. The goal is to create an ultra-smooth, seamless surface that’s ready for sanding and painting.
Ensure that the edges of the third coat are feathered out so that there are no visible lines or ridges.
5. Sanding Between Coats
Sanding is essential to achieving a smooth, polished finish. After each coat has dried, use fine-grit sandpaper (220-grit or higher) to smooth out the surface. Focus on sanding down any high spots or imperfections without gouging the compound.
After sanding, always wipe down the surface with a damp cloth to remove any dust and allow for proper adhesion of subsequent layers or primer.
6. Priming and Painting
Once the final coat of joint compound is dry and smooth, apply a coat of drywall primer to seal the surface. The primer helps the paint to adhere evenly and prevents blotchiness. Once the primer has dried, you can begin painting with your desired finish.
Depending on the color and finish you want, you may need two coats of paint for full coverage. Apply the paint with a roller for a smooth, even finish.
Tools and Materials for Drywall Finishing
The quality of your drywall finish will depend heavily on the tools and materials you use. Some of the essential items include:
- Drywall Knives: Used for applying joint compound to seams, screw holes, and the wall surface. Sizes vary, but you’ll need 6-inch, 10-inch, and 12-inch knives.
- Mud Pan: A shallow container for holding joint compound.
- Joint Compound: The material used to cover seams and joints in drywall.
- Taping or Mesh Tape: Paper or mesh tape to cover the seams.
- Sanding Block or Pole Sander: Used to smooth the compound between coats.
- Drywall Primer: A primer used to seal the drywall before painting.
- Paint Rollers and Brushes: For applying the primer and paint.
Common Drywall Finishing Mistakes to Avoid
To achieve the best possible finish, it’s important to avoid common mistakes that can affect the outcome:
- Too Much Compound: Applying too much joint compound can result in excess sanding and an uneven finish.
- Skipping Drying Time: Rushing through the drying time between coats can lead to poor adhesion and an uneven finish.
- Not Sanding Properly: Skipping sanding between coats or over-sanding can leave an uneven texture on the wall.
- Using the Wrong Tools: Make sure to use the proper tools for each step of the process to achieve the smoothest finish.
Conclusion
Mastering the art of drywall finishing takes time and practice, but with the right techniques and tools, you can achieve a smooth, flawless finish that will make your walls look professionally done. Whether you’re a DIY enthusiast or a seasoned professional, this guide provides the essential steps to help you create beautiful, seamless drywall surfaces for any space.


