Managing your emails efficiently is essential for staying organized, especially if you receive numerous messages daily. One of the most effective ways to achieve email organization is by creating custom folders to categorize your emails. How to create a new folder in Mac Mail is a common query for Mac users looking to declutter their inbox and keep everything in order. In this article, we’ll explore step-by-step instructions for creating new folders in Mac Mail, and offer additional tips to optimize your email management.
Why Create Folders in Mac Mail?
Before diving into the steps on how to create a new folder in Mac Mail, it’s important to understand why creating folders is so beneficial. Here are some key reasons:
- Email Organization: By categorizing your emails into folders, you can easily find specific messages without searching through your entire inbox. This helps maintain a tidy and efficient workspace.
- Prioritization: You can create folders for important projects or tasks, ensuring that crucial emails are always within reach.
- Reduced Clutter: Moving emails into folders that are organized by topic, project, or client can minimize inbox clutter and reduce the risk of missing important messages.
- Improved Workflow: Folders allow you to segment your emails in a way that suits your workflow. You might have folders for different clients, personal correspondence, receipts, newsletters, and more.
Now that you know why folders are useful, let’s walk through the steps for creating them in Mac Mail.
How to Create a New Folder in Mac Mail
Creating a new folder in Mac Mail is a simple process that involves just a few steps. Follow these instructions to get started:
Step 1: Open Mac Mail
- First, launch the Mail app on your Mac. You can do this by clicking on the Mail icon in your Dock or by using Spotlight (Command + Space) and typing "Mail" to open the app.
Step 2: Access the Mailboxes Sidebar
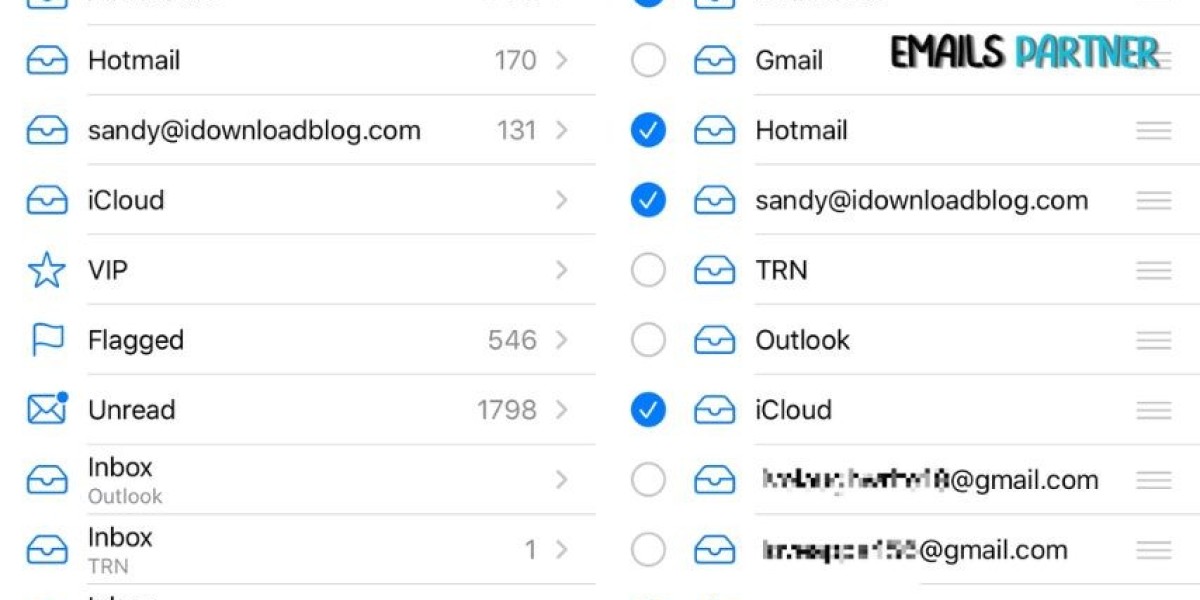
- Once you're in the Mail app, you’ll notice the left sidebar, where you can see your various mailboxes such as Inbox, Sent, Drafts, and others.
- If the sidebar isn’t visible, click on View in the top menu bar and select Show Mailbox List.
Step 3: Right-Click to Add a Folder
- In the sidebar, right-click (or Control-click) on any mailbox, such as Inbox or On My Mac. If you want the new folder to be located under a specific account, choose the account’s name.
- A context menu will appear with several options.
Step 4: Select “New Mailbox”
- From the context menu, select New Mailbox. This will prompt a new window where you can name and configure your folder.
Step 5: Name Your Folder
- In the new window, you’ll be prompted to give your folder a name. Choose a descriptive title for your folder, such as “Work,” “Family,” or “Receipts,” depending on the purpose of the folder.
- You can also create a hierarchy of folders by choosing a location where you want the folder to be stored (such as under On My Mac or a specific account).
Step 6: Save the Folder
- Once you’ve named the folder and selected its location, click OK to create the folder. The new folder will now appear in the sidebar.
How to Organize Your Emails Using Folders
Once you’ve created your folders, it’s time to start organizing your emails. Here are some ways you can make the most of your new folders in Mac Mail:
1. Move Emails into Folders
- Drag-and-Drop: One of the easiest ways to move emails into folders is by dragging them. Simply click and drag the email from your inbox or any other mailbox into the folder you created in the sidebar.
- Using the “Move To” Option: Select an email, then click on the Move To button in the toolbar. A list of your folders will appear, and you can select the appropriate one to move the email into.
2. Use Smart Mailboxes for Automatic Sorting
- Smart Mailboxes in Mac Mail are a powerful feature that automatically sorts your emails based on specific criteria, such as the sender, subject, or date.
- To create a Smart Mailbox, go to Mailbox in the menu bar, and select New Smart Mailbox. Set the criteria for the Smart Mailbox and name it accordingly. Once set up, the Smart Mailbox will automatically organize your emails according to the rules you specified.
3. Use Flags for Important Emails
- Flagging emails in Mac Mail is another way to prioritize and organize emails. You can flag emails based on urgency, importance, or topic.
- To flag an email, simply click the Flag icon in the email header or right-click the email and choose Flag.
4. Set Up Email Filters
- In addition to manually sorting your emails, you can set up automatic filters to organize incoming messages. Go to Mail > Preferences > Rules, then click Add Rule. You can create rules based on criteria like sender, subject, or message content. These rules will automatically move emails into the appropriate folders as they arrive.
Advanced Folder Management Tips for Mac Mail
Once you’ve mastered the basics of folder creation and email sorting, here are some additional advanced tips to optimize your workflow further:
1. Create Subfolders
- To organize emails within a specific folder, you can create subfolders. Follow the same steps as creating a new folder, but select the main folder where you want to add the subfolder. For example, you could create a folder called Work, and then create subfolders for Projects, Meetings, and Invoices within it.
2. Color Code Folders
- While Mac Mail doesn’t natively support folder color coding, you can use emoji symbols or specific naming conventions to help visually distinguish folders. For example, you could name a folder “? Work” to make it stand out in your sidebar.
3. Sync Folders Across Devices
- If you use Mac Mail across multiple devices, such as on an iPhone or iPad, make sure that your folders sync between devices. This can typically be done through your email provider’s IMAP settings. By syncing folders across devices, you’ll have access to your organized emails on the go.
4. Archive Emails for Long-Term Storage
- Instead of leaving emails in your inbox or folders, you can archive them for long-term storage. This is especially useful for old emails that you want to keep but don’t need immediate access to. To archive an email, simply move it to the Archive folder in your Mail app.
Common Issues and Troubleshooting Tips
While Mac Mail is generally reliable, you may occasionally encounter issues while working with folders. Here are some common issues and how to resolve them:
1. Folders Not Appearing in Sidebar
- If your new folder isn’t showing up in the sidebar, make sure you’re looking in the correct location. You can also try restarting the Mail app or your Mac to refresh the folder list.
2. Deleted Folder Cannot Be Restored
- If you accidentally delete a folder, it can sometimes be difficult to recover it. Check the Trash folder to see if the folder is there. If not, consider creating a new folder with the same name and manually moving emails into it.
3. Syncing Issues with Folders
- If your folders aren’t syncing between devices, check your email account’s IMAP settings. Make sure that the “Use SSL” option is enabled in your Mail preferences and that your email provider’s server settings are correctly configured.
Conclusion
Knowing how to create a new folder in Mac Mail is a key step in enhancing your email management experience. By following the steps outlined above, you can efficiently organize your inbox, reduce clutter, and keep your emails well-sorted. Whether you’re organizing by client, project, or type of communication, Mac Mail provides all the tools you need to stay on top of your email game.
For those looking for further assistance with email management, the Emails Partner Team is available to offer expert advice and tailored solutions to optimize your inbox and streamline your workflow.