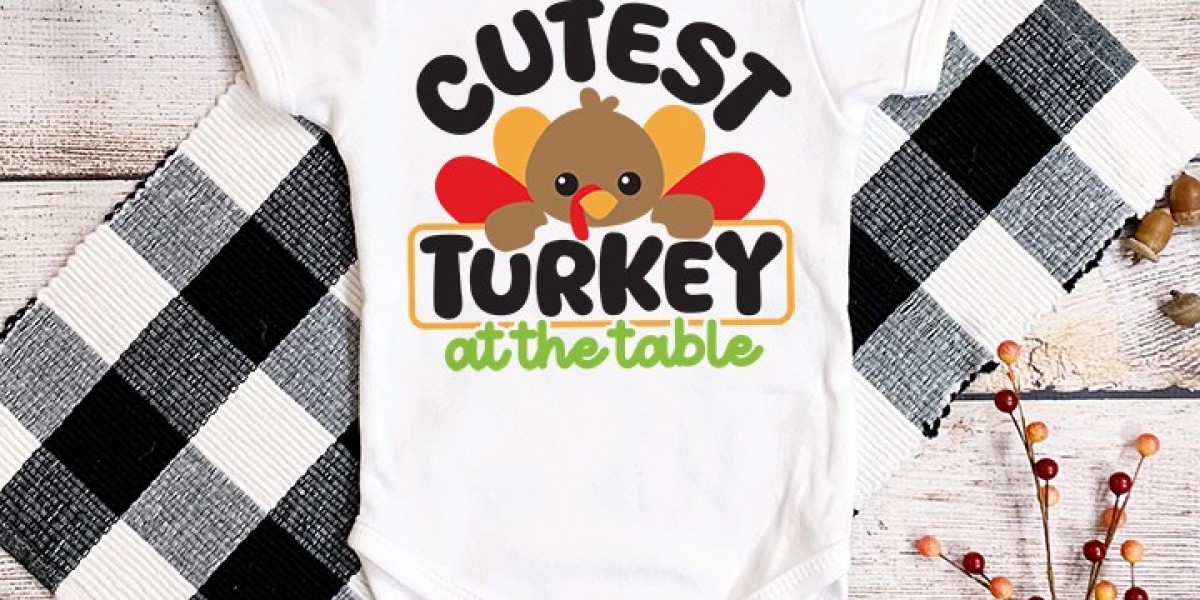
Thanksgiving is a time for family, food, and of course, fun traditions. In my family, one of the most entertaining traditions is dressing up in funny, themed shirts for Thanksgiving dinner. Originally, I had created the "Cutest Turkey at the Table" design for my baby nephew, but now I’m tempted to wear it myself! Who says only babies can be the cutest ones at the table? With this fun and versatile cut file, anyone—kids and adults alike—can be the star of Thanksgiving! And the best part? You can download the design for free and make shirts, mugs, tote bags, signs, and more, all using your Cricut or vinyl cutting machine. Here’s a step-by-step guide to help you get started on your own Thanksgiving-themed creations.
1. Download and Upload the SVG File to Your Design Software
Before you can start crafting, you’ll need to download the "Cutest Turkey at the Table" cut file. Keep in mind that printables and SVG cut files from Artsy-Fartsy Mama are for personal use only, so feel free to use them for your own projects but refrain from selling them. If you'd like to share the project, make sure to link back to the website instead of the file directly.
Once downloaded, upload the file into Cricut’s Design Space or the software for your cutting machine. From there, you can adjust the size of the design to fit your project. Whether it’s a shirt, mug, or tote bag, the file is customizable for any size and project type. You can also get creative by changing colors to match your personal style or the fall season. For a festive look, try adding glitter heat-transfer vinyl (HTV) to make the design sparkle.
2. Prepare Your Design for Cutting
After uploading the file, you’ll want to organize the design within your software. For designs with multiple colors, like the "Cutest Turkey at the Table," select the individual color layers and group them together. This step ensures that all elements of the same color stay in place when you send the design to the cutting mat.
Next, don’t forget to use the "Attach" feature in Cricut’s Design Space for each color group. If you skip this step, your design may become scrambled as the machine rearranges pieces to fit onto the mat.
3. Mirror the Design Before Cutting
One crucial step before you cut your HTV is to mirror your image. If you don’t do this, the text and design will appear backward once it’s ironed onto the shirt. To mirror the design, simply select the mat thumbnail and toggle the "Mirror" button in Design Space.
4. Cut Your Vinyl
Now comes the fun part—cutting the vinyl! For my shirt, I used black, brown, red, orange, and green HTV with my Cricut Explore Air 2. This design is perfect for using up those smaller vinyl scraps you’ve been saving. Lay the vinyl shiny-side down on the cutting mat and select the appropriate material setting based on the type of vinyl you’re using.
After loading the mat into your cutting machine, hit the "Go" button to start cutting. Once done, "weed" the excess vinyl by carefully removing any parts that are not part of the design. Start by peeling away the outer edges and use weeding tools to take out smaller pieces.
5. Apply the Vinyl with Heat
Once your vinyl is cut and weeded, it’s time to apply it to your shirt. Plug in your heat press or EasyPress, and set the temperature and timer according to the specifications for your HTV. Different types of HTV require different heat settings, so make sure to check the manufacturer’s recommendations before pressing.
To start, preheat the area of the shirt where you’ll be placing the design for 5-10 seconds. Then, lay your vinyl onto the shirt with the clear carrier sheet facing up. Place the EasyPress over the design and press the "C" button to begin. Hold it firmly in place while the timer counts down. After pressing, turn the shirt over and apply heat to the back for another 15 seconds.
6. Peel and Layer (If Necessary)
Once the vinyl has adhered to the fabric, peel away the carrier sheet while it’s still warm. If you’re using multiple layers of vinyl, repeat the pressing process for each additional color. Be sure to use an Iron-On Protective Sheet to protect any vinyl that has already been applied to the shirt.
7. Show Off Your Creations
Your personalized Thanksgiving shirt is now ready to wear! Whether you decide to make shirts for the whole family or create other fun Thanksgiving items like mugs or tote bags, the "Cutest Turkey at the Table" cut file offers endless possibilities.
This design comes with multiple file types, making it compatible with any vinyl cutting machine. And don’t forget, I would love to see what you create! Tag me on Instagram and Facebook, or leave a comment with a photo on the project pin on Pinterest. Be sure to use the hashtag #AFMCrafts so I can admire your creations.
Final Thoughts and More Free SVG Files
If you’re looking for even more Thanksgiving-themed designs, you’re in luck! Artsy-Fartsy Mama offers eight additional FREE Thanksgiving SVG cut files. Use these designs to create even more personalized items like mugs, signs, and bags to make your Thanksgiving extra special.
Designs For Cricut
cricut design
Cricut monogram designs
Cricut Shapes
Unique Cricut Sticker Designs
cricut watercolor projects
Cricut Cutfiles Collection